That's right boys and girls, a whole week of nothing but flour and sugar and French pastries. This post will be a bit picture heavy, but I promise, there will be a recipe in the end. You see, I've just completed the Pastry Bootcamp at the
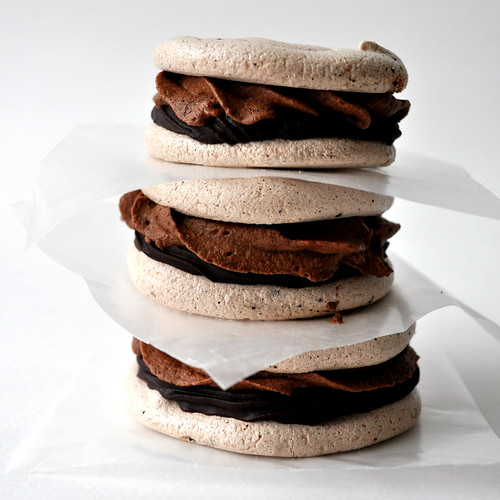
French Pastry School where under the tutelage of the wonderful Chef Kristen Ryan, I learned a bunch of back pocket recipes that I'll most definitely be making in the future. The most fantastic brioche recipe, rich and fabulous Chocolate financiers:

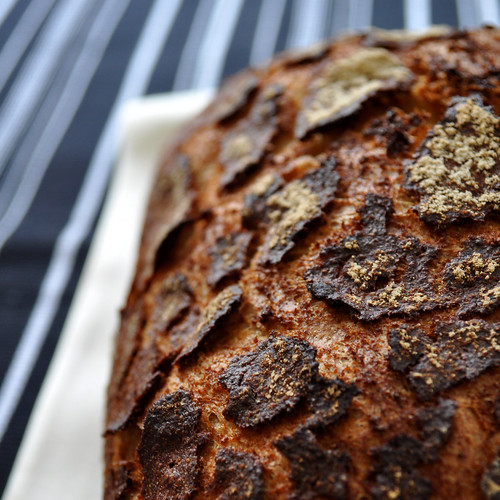
Fantastic bread brushed with a beer crust:
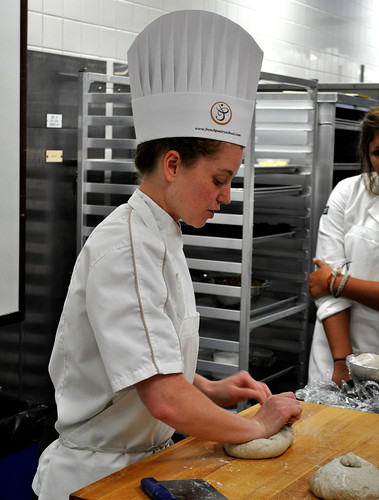
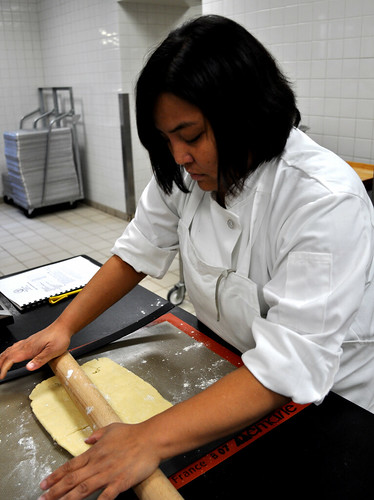
Here's Chef showing us how to shape the loaves before proofing:
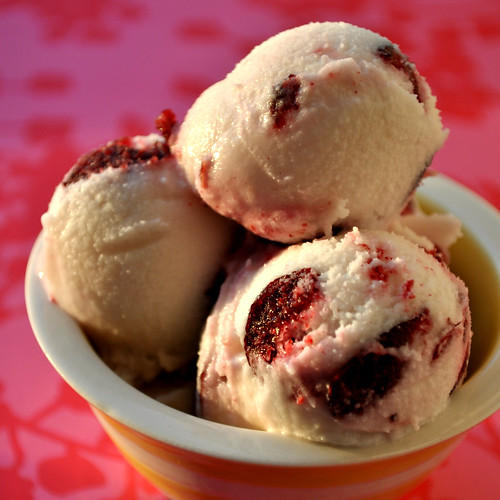
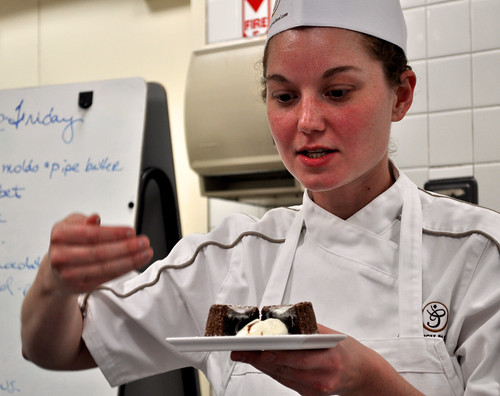
A smooth vanilla ice cream that shames all others, shaped into perfect little quenelle shapes over a warm chocolate lava cake:
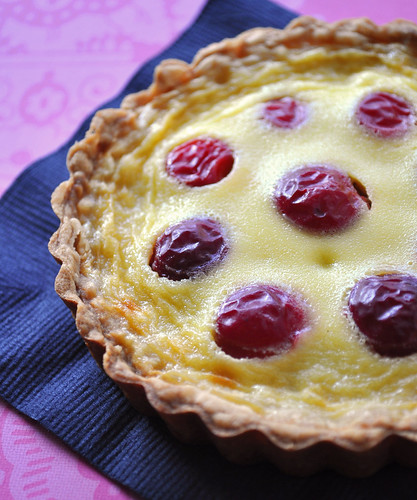
A classic fruit tart with the crust painstakingly shaped by hand with the help of my friend and partner
Joy:
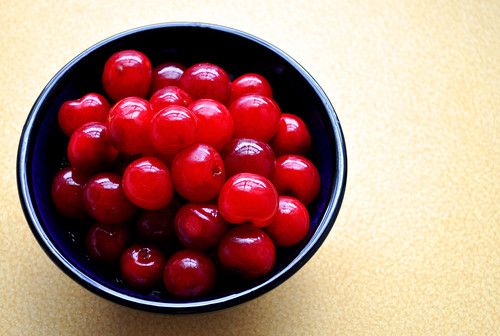
The best pate de fruit I've ever had (kind of like marmalade candy), perfect little Madelines with just a slight hint of lemon:

And lots and lots more. And every day, right after coming home after hours and hours in the kitchen, I'd get right back into it. How can I not when there are figs at the market?
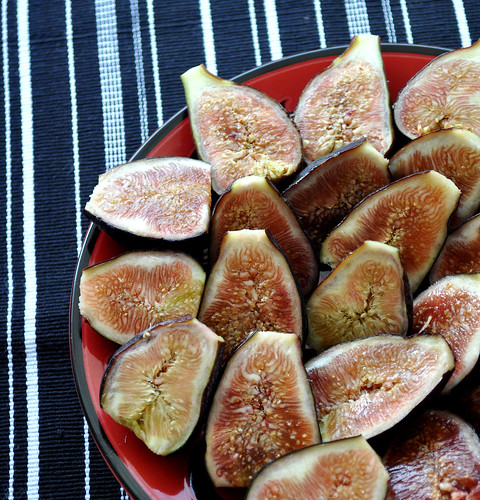
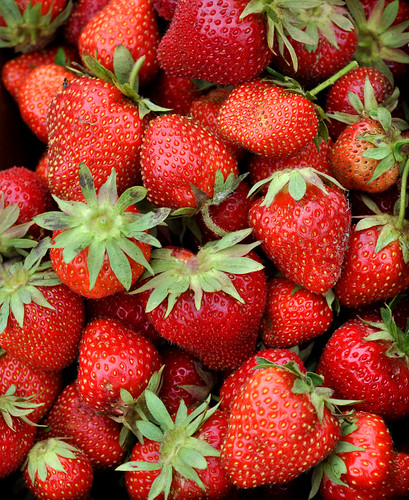
I don't know if I'm allowed to share the recipes I learned in class with the world yet, but until I know for sure, I'll leave you with one of the recipes I made on my own. It's got fresh figs from the market and strawberries from the last picking expedition:
It's a slightly different crust then the one from the last post, and it was quite a bit easier to work with. The hazelnut pastry cream and the wonderful fruits made for a unique and very tasty treat.
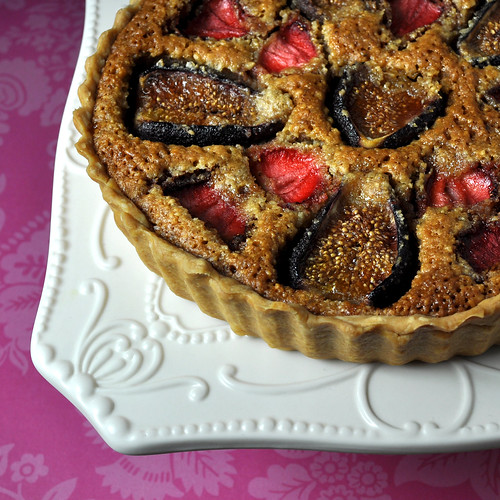 Strawberry Fig and Hazelnut Tart
via Martha Stewart Magazine, June 2010
Strawberry Fig and Hazelnut Tart
via Martha Stewart Magazine, June 2010
Makes one 10-inch tart.
FOR THE CRUST
1 1/4 cups all-purpose flour, plus more for surface
1/2 teaspoon granulated sugar
Salt
1 stick cold unsalted butter, cut into small pieces
1/4 to 1/2 cup ice water
FOR THE FILLING
3/4 cup blanched hazelnuts, toasted
1/2 cup packed light-brown sugar
1/4 cup granulated sugar
1/2 teaspoon finely grated lemon zest
Salt
1 stick unsalted butter, cut into small pieces
2 tablespoons Armagnac or other brandy, such as Cognac
2 large eggs
1/2 teaspoon pure vanilla extract
8 ounces figs (about 7), trimmed and halved lengthwise
8 ounces strawberries (1 1/2 cups), halved if large
Make the crust:
- Pulse flour, granulated sugar, and 1/2 teaspoon salt in a food processor until combined.
- Add butter, and pulse until mixture resembles coarse crumbs with some larger pieces remaining, about 10 seconds.
- Drizzle 1/4 cup ice water evenly over mixture and pulse until mixture just begins to hold together (it should not be wet or sticky). If dough is too dry, add more water, 1 tablespoon at a time, and pulse.
- Press dough into a disk, and wrap in plastic. Refrigerate until firm, about 1 hour or overnight.
- Roll dough to a 14-inch circle (1/8 inch thick) on a floured surface. Fit dough into bottom and up sides of a 10-inch fluted round tart pan with a removable bottom. Trim excess dough flush with edges of pan using a knife. Refrigerate until firm, about 1 hour.
- Preheat oven to 350 degrees.
- Prick bottom of tart shell all over with a fork, and fill with pie weights or dried beans. Bake for 30 minutes. Remove weights, and bake until set, about 5 minutes more. Let cool. Leave oven on.
Make the filling:
- Pulse hazelnuts in a food processor until finely chopped. Add sugars, zest, and 1/4 teaspoon salt; pulse to combine. Add butter, Armagnac, eggs, and vanilla; pulse until mixture is almost smooth.
- Spread filling evenly into tart shell. Top with figs and strawberries. Bake for 30 minutes. Reduce oven temperature to 325 degrees; bake until set and dark brown on top, about 1 hour more. Garnish with whipped cream.